Need help? Call Us : 02642-266340 Email : info@kingsoftware.co.in

×
![]()
Blog
- home
- SETUP MAGENTO WEBSITE HEADER & FOOTER SECTION

SETUP MAGENTO WEBSITE HEADER & FOOTER SECTION
In Magento 2, If you want to Change the Header & Footer Style through Magento Admin, then following are the steps for changing style:
STEP 1: Your Magento Homescreen will look like below:
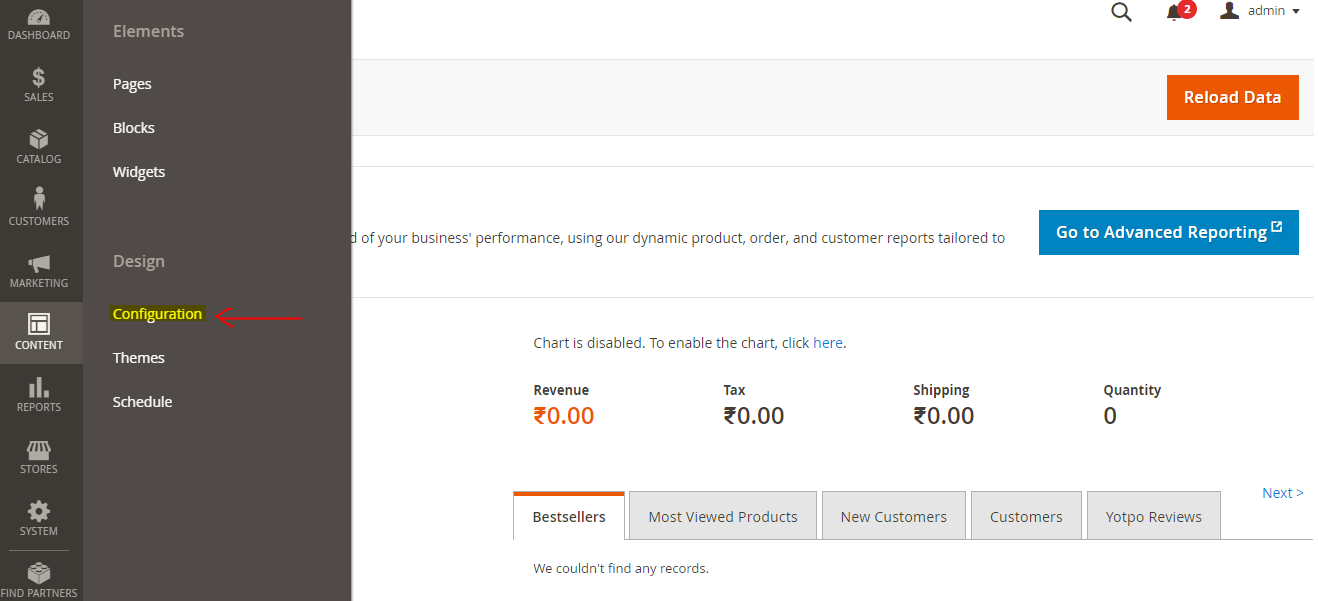
- After Login go to STORES/Configuration as shown in below image:
- Go to Magento Admin Panel. In Panel Go to CONTENT>Configuration (In Design).
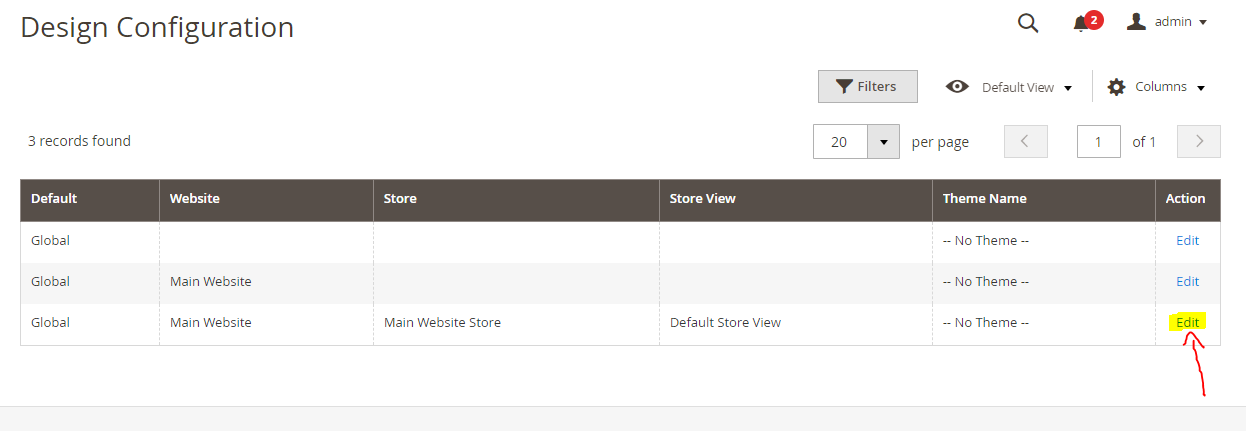
- After that In Design Configuration page, Click on Edit button to edit the theme.
STEP 2: Move the unzip folder.
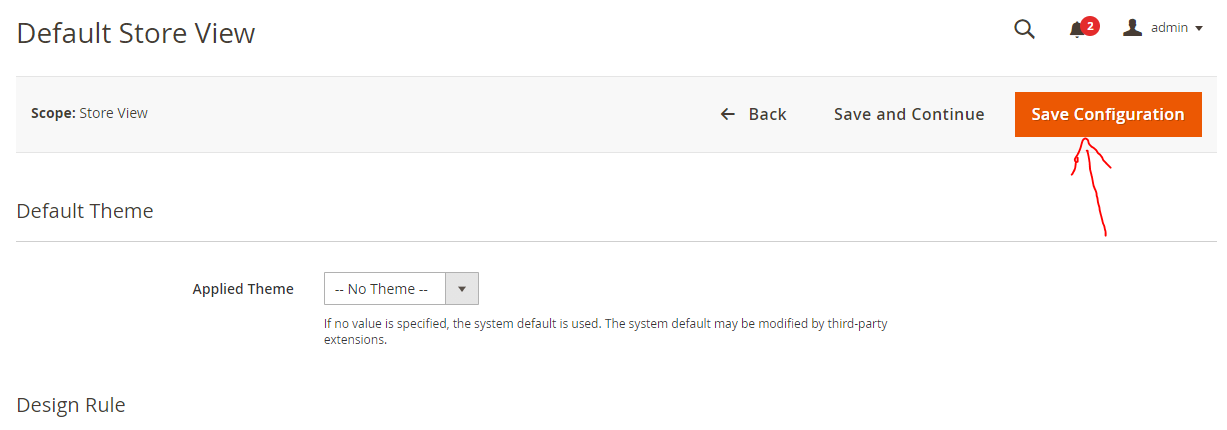
- After that, you will redirect to the Default Store View page.
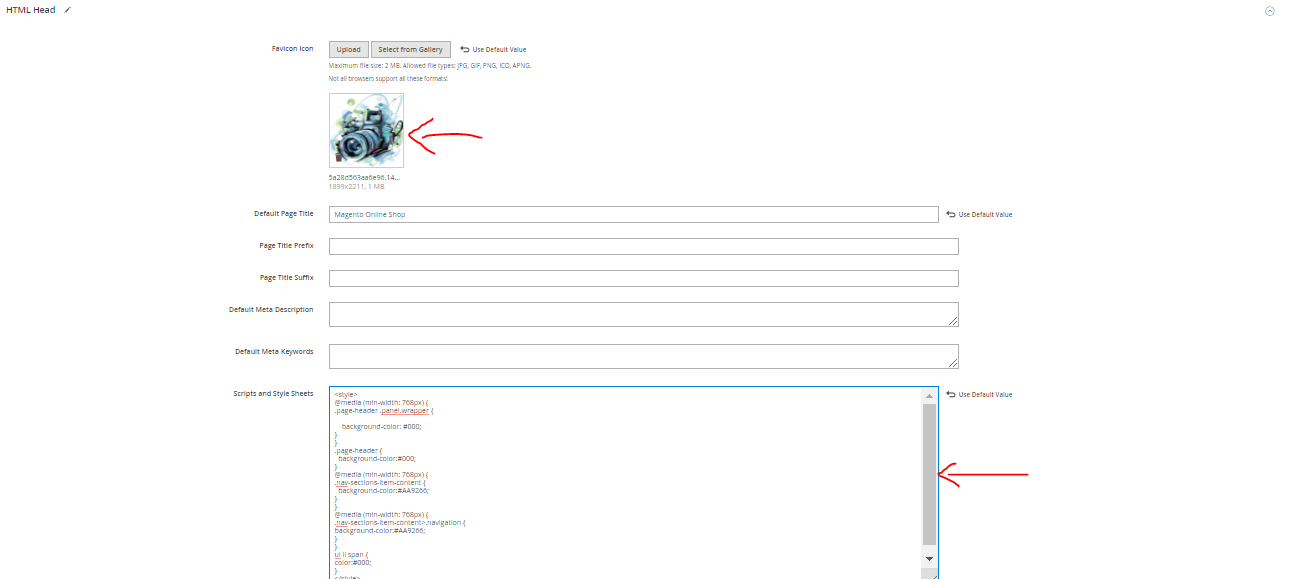
- In Other Settings option, you will see different options like HTML Head, Headr, Footer, … etc.
- Now in HTML Head option, you can set your website favicon icon, page title, ..etc.
- In Scripts & Style Sheets box, you can add your personal css styles that you want to apply in your header section.
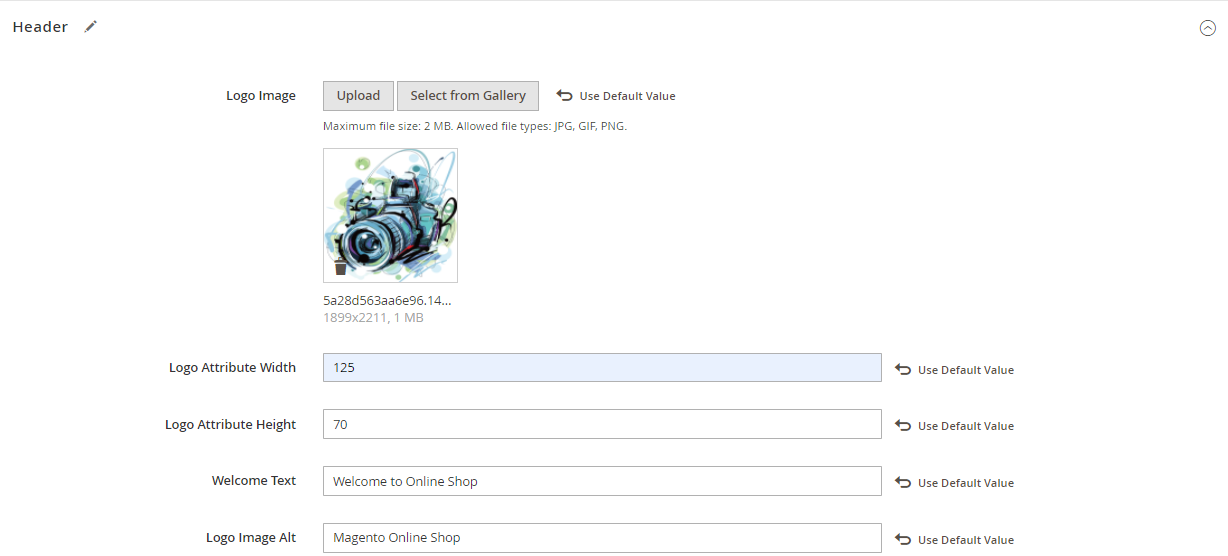
- After that, there is a Header Section. In this you can find options to change your logo image, width, height, alt tag and welcome message display boxes to be set.
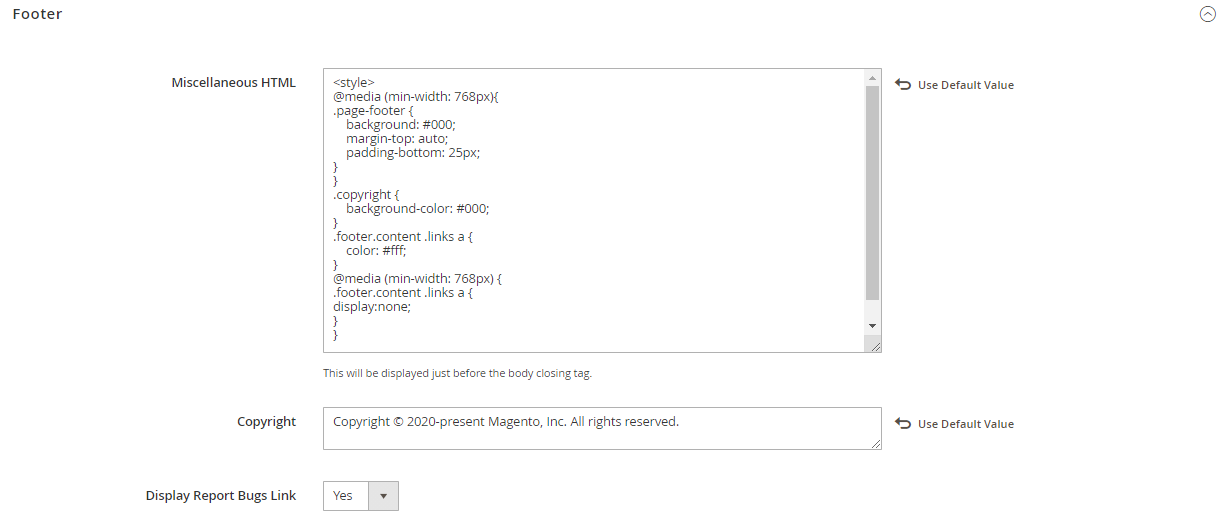
- Below Header Section, there is Footer Section. In this section you can add your personal HTML & CSS codes to apply styles to your footer section of Magento website. You can also change your website Copyright Statement in footer section.
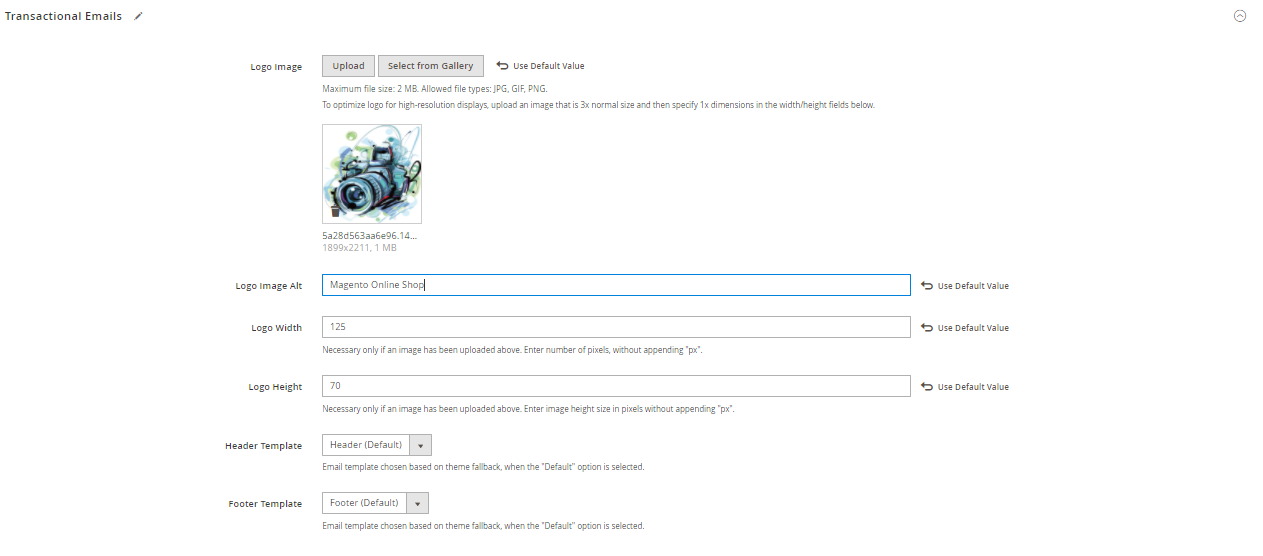
- You can also set your Email template logo in Transaction Emails section as shown in the image.
- After set all the changes press the Save Config button to save your changes.
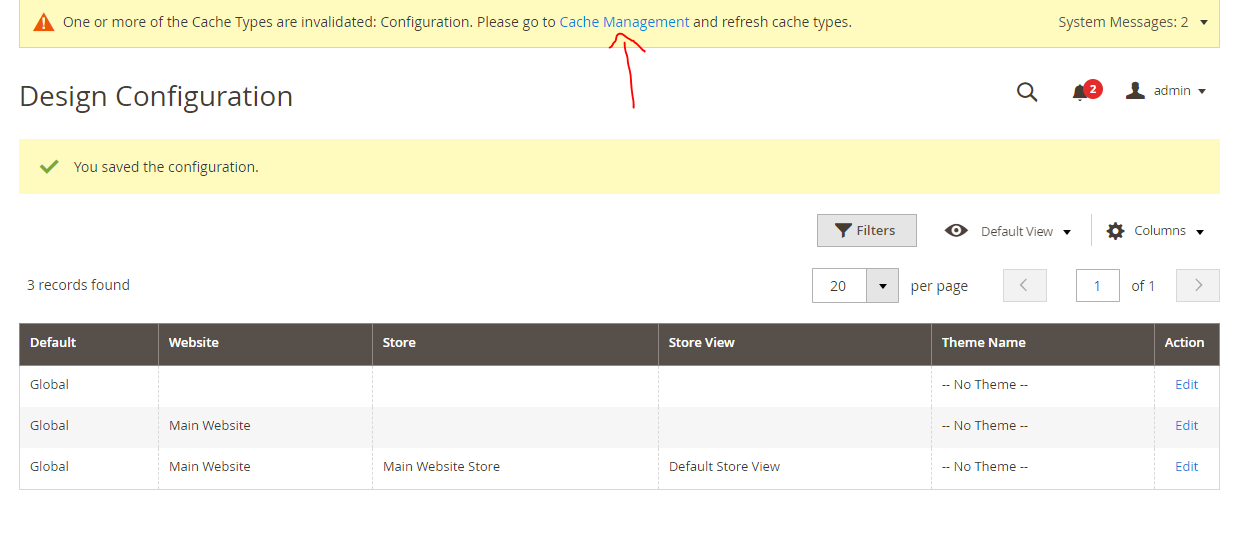
STEP 3: After Save Config changes. You will see the message to clean the cache files as shown in the image.
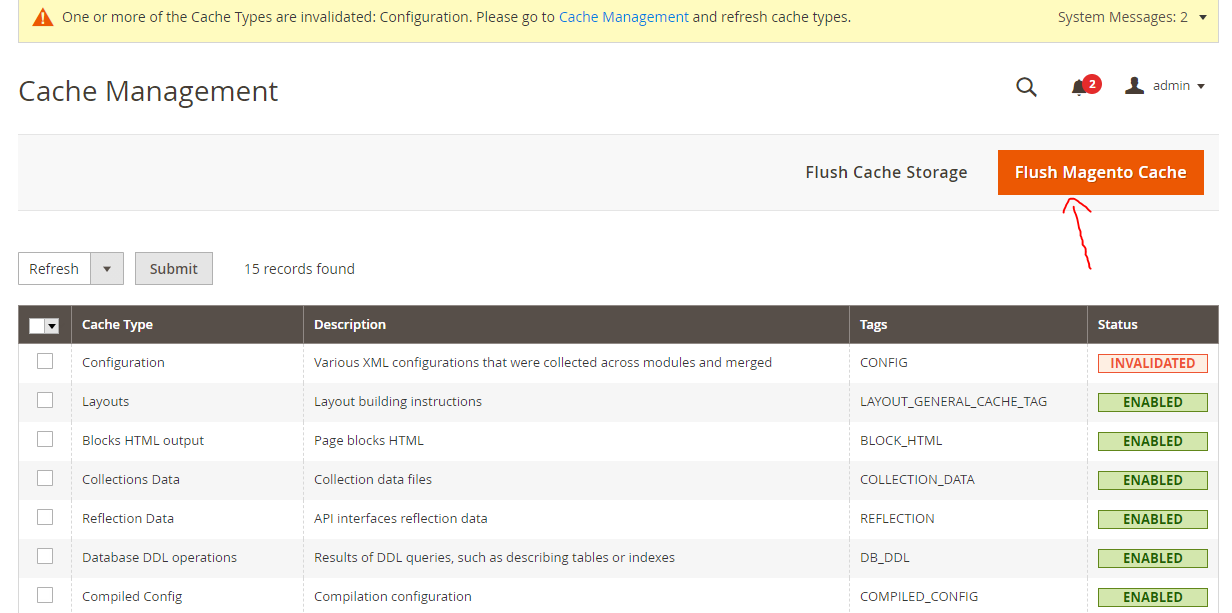
- You can directly click on Cache Management option on the screen or go to System->Cache Management (in Tools) to clean the cache files to see your saved changes on website.
- Click on Flush Magento Cache button to clean cache of the website.
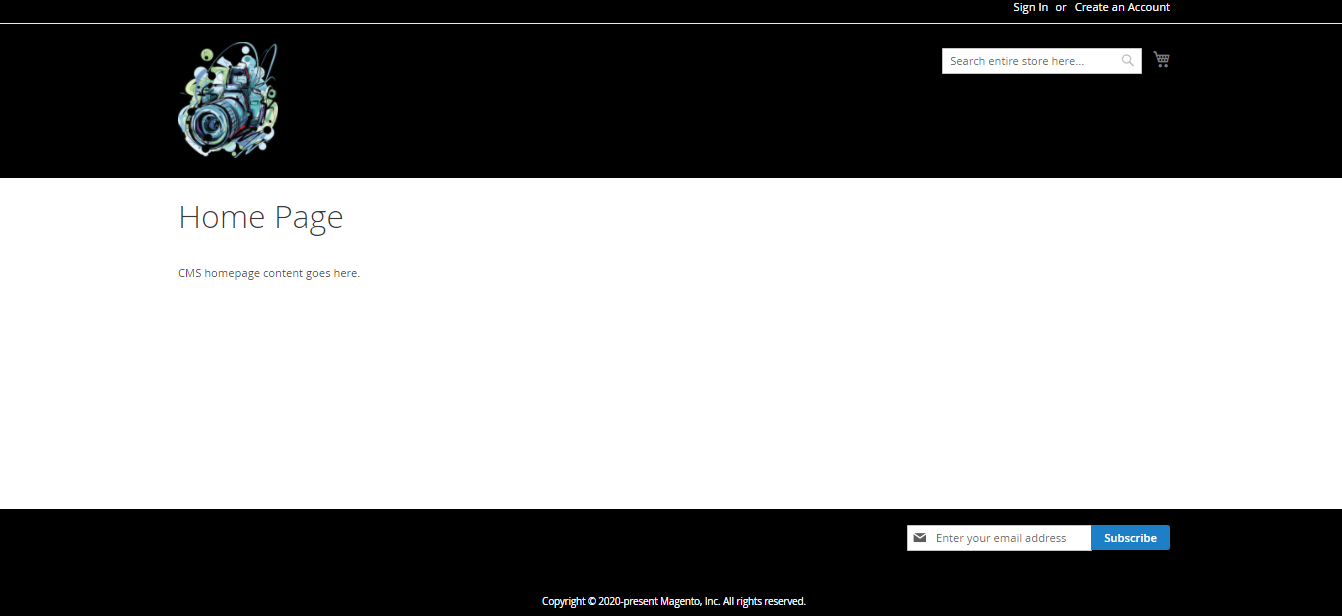
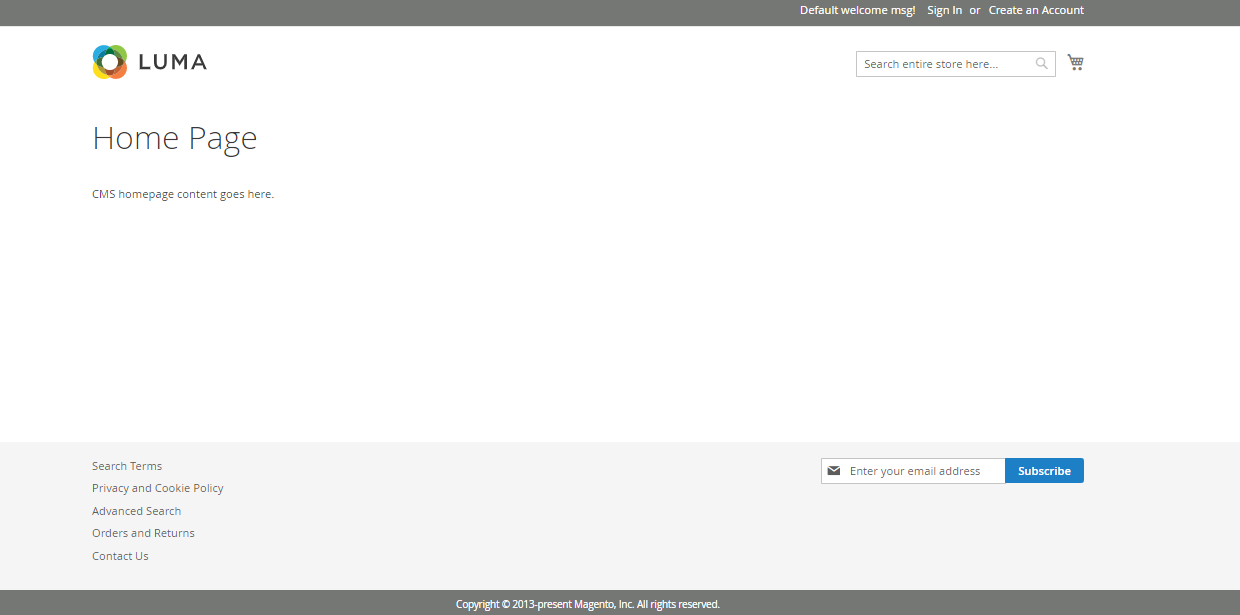
- After Cache clean, go to your magento website & reload the page to see the changes in page.
